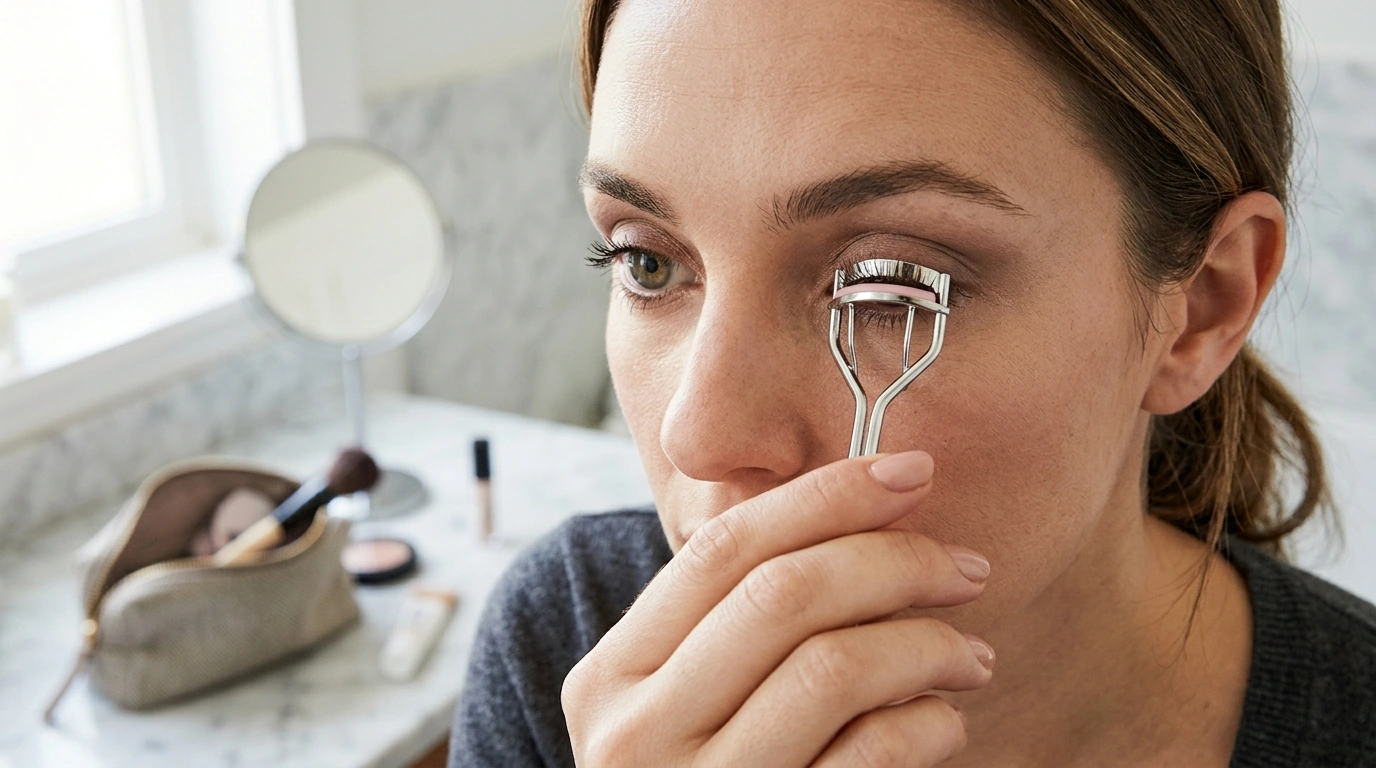
A quick lash lift can change the whole look of an eye makeup routine—especially when time, space, or a full vanity setup isn’t available. A portable precision eyelash curler is designed for controlled, targeted curling and easy touch-ups, with a compact shape that fits neatly into a makeup bag for daily use, travel, and mid-day refreshes.
Unlike a traditional full-width curler that clamps across most of the lash line at once, a precision curler is built for micro-adjustments. The smaller curling surface helps place the curl exactly where you want it—especially helpful when certain sections (like the inner corner) refuse to cooperate.
If you’re building a streamlined on-the-go kit, start with a dependable tool like the Portable Precision Eyelash Curler and add only what supports clean, quick application.
Precision curlers prioritize placement and control. Standard curlers can be faster for a full sweep, but precision designs shine when you want to refine corners, lift stubborn sections, or correct uneven lash direction.
| Feature | Portable precision curler | Standard full-width curler |
|---|---|---|
| Best for | Corners, short lashes, touch-ups, spot-lifting | Full lash line curling in one clamp |
| Control | High (small-area placement) | Medium (covers larger area) |
| Portability | High (compact) | Medium (bulkier) |
| Learning curve | Low–medium (placement practice helps) | Low |
| Common mistake to avoid | Over-curling one spot repeatedly | Pinching lid skin if positioned too close |
For sensitive eyes, technique matters more than tool style: avoid pulling, avoid clamping skin, and keep your movements slow and deliberate. For broader eye health and safety basics, the American Academy of Ophthalmology is a solid reference.
The goal is a smooth curve (not a sharp kink). A gentle, section-by-section method helps the curl look natural while staying comfortable.
A portable tool should feel easy—not intimidating. If your eyes are sensitive or your lashes are delicate, prioritize a light hand and a clean tool.
While lash breakage can have multiple causes, minimizing mechanical stress is always helpful. For general context on hair breakage and care basics, see the American Academy of Dermatology.
A great curl shows up best when the rest of the routine stays clean and controlled—especially mascara application and any blending around the eyes.
To keep application streamlined (especially when you’re getting ready away from home), a compact, organized kit helps. The Professional Makeup Brush Set with Eco-Friendly Wooden Handles and Bag is a practical pairing for blending, detailing, and quick touch-ups without digging through loose tools.
Yes, it can if you use too much force, tug, or repeatedly clamp the same spot. Gentle pressure, a clean well-maintained tool, and avoiding wet lashes help reduce breakage risk, and it’s generally safer to avoid re-curling after mascara.
Curling before mascara is typically best because it forms a smoother curl and lowers the chance of lashes sticking and pulling. If touch-ups are needed, it’s safer to re-curl before applying mascara rather than after.
Look slightly downward into a mirror, place the curler a bit away from the lid margin, and use small gentle pulses while working in sections. If you feel skin catch at any point, stop immediately and reposition before pressing again.








Leave a comment