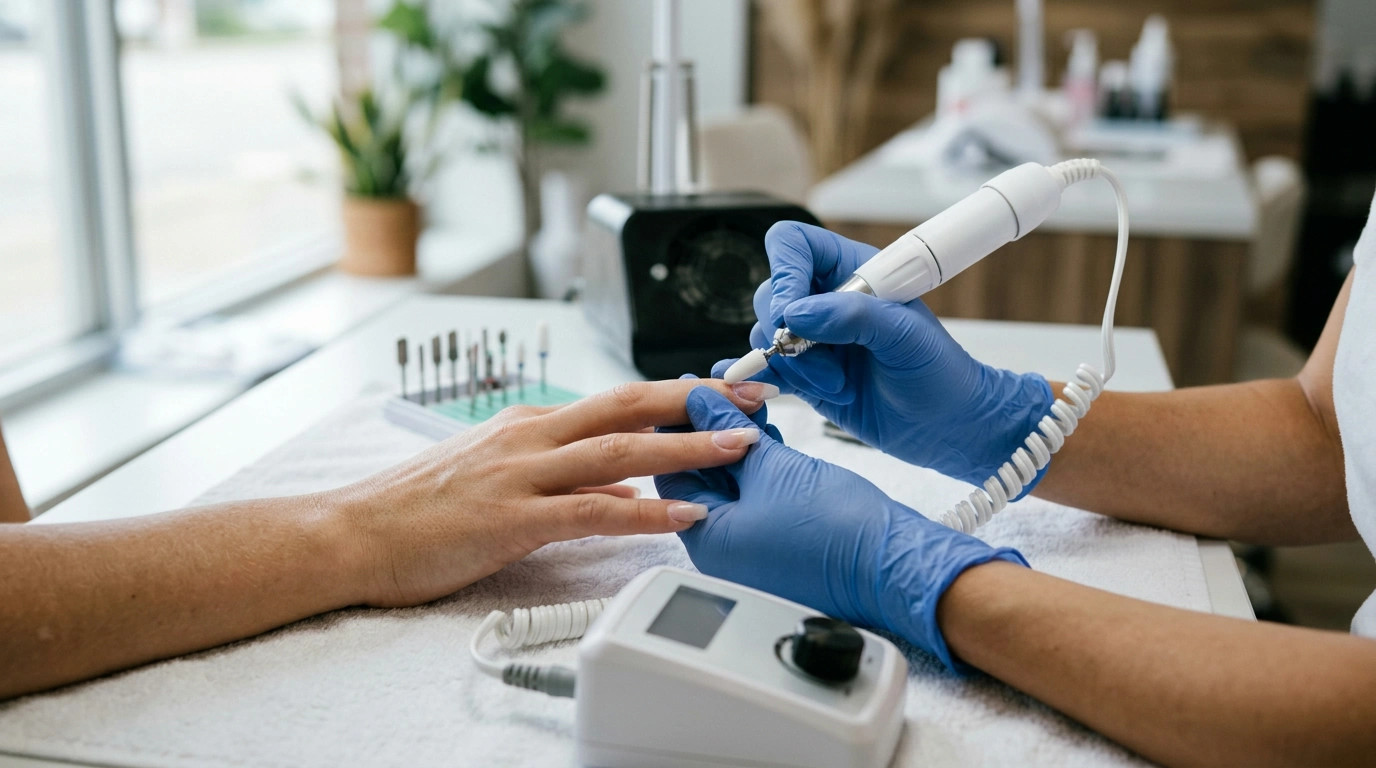
A high-speed electric nail drill can take hours off removal, shaping, and prep—when the speed range, handpiece comfort, and control features are right. A 40,000 RPM drill with an LCD display is built for quick product reduction on enhancements, while still offering the lower-speed control needed for detail work. Below is a practical, technique-first guide to what this type of drill can do for acrylic and gel services, plus tips to help keep your results smoother (and your natural nails safer) whether you’re working at home or in a salon.
A 40K drill is primarily an enhancement tool. The real advantage isn’t living at maximum speed—it’s having extra headroom when you need efficient removal and the torque to keep the bit cutting consistently.
With electric files, control features matter as much as top speed. The goal is predictable, repeatable settings that match each step of your service.
For salon-style hygiene and air quality considerations, it also helps to follow established safety guidance around chemicals and dust exposure from authoritative workplace sources such as CDC/NIOSH on nail salon worker exposures and OSHA’s nail salon health hazards.
Technique and bit choice do more for results than max RPM. A smart routine starts lower than you think, then climbs only as needed for efficiency.
| Task | Typical RPM Range | Suggested Bit Type (Example) | Notes for control |
|---|---|---|---|
| Cuticle area cleanup (gentle) | 3,000–8,000 | Small flame/needle (fine) or safety bit (fine) | Feather-light pressure; avoid the natural nail plate |
| Refining builder gel / gel overlay | 8,000–15,000 | Fine/medium sanding band or fine carbide | Short passes; check heat frequently |
| Acrylic debulking / reduction | 15,000–25,000 | Carbide barrel (medium/coarse) | Work in zones; keep the barrel flat to the surface |
| Removing top coat / smoothing surface | 8,000–12,000 | Fine sanding band | Use minimal pressure to avoid thinning |
| Shaping free edge of enhancements | 10,000–18,000 | Medium sanding band or barrel bit | Stabilize the finger; support sidewalls |
For disinfection references when selecting appropriate products, consult the EPA’s List N disinfectants and always follow label instructions for contact time and surfaces.
| Item | Detail |
|---|---|
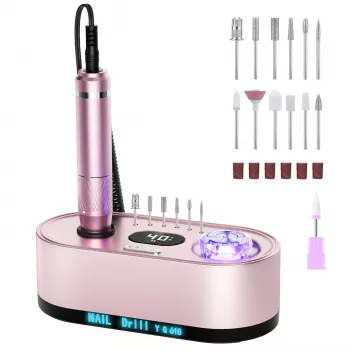
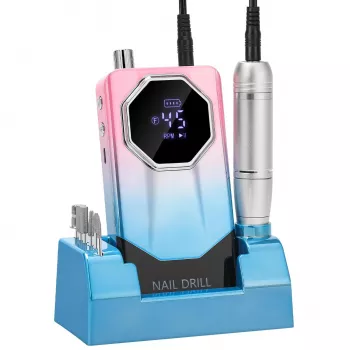
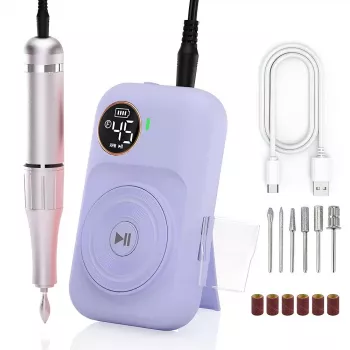
| Product | Professional Electric Nail Drill Kit 40000RPM with LCD for Acrylic & Gel Nails |
| Price | $43.51 USD |
| Stock status | In stock |
For natural nails, most work is done at much lower RPM; higher speeds are mainly for reducing enhancement product. Use light pressure, choose a fine bit for detail, and avoid high-speed contact near the cuticle and natural nail plate.
Direction depends on handedness and filing angle. Many users switch forward/reverse when moving from one sidewall to the other so the bit cuts smoothly without pulling or skipping.
Heat usually comes from friction—too much pressure or staying in one spot. Lower the RPM, keep the bit moving in short passes, and use a sharp, appropriate bit for the product you’re removing.








Leave a comment